1. Turn ON your unique QR Code Access
The QR Code is unique to each training organisation.
To turn ON your QR Code:
- Navigate to LRM > Settings
- In the Apps Settings widget, click on Learner App
- Go to the section for QR Certificate Verification, and set the Toggle to ON
- This will make the QR Certificate Verification page visible in Learner App
2.Obtain and Save your Unique QR Code as an image
Once you have turned on your access to QR Code you can now save the image to use on your credentials.
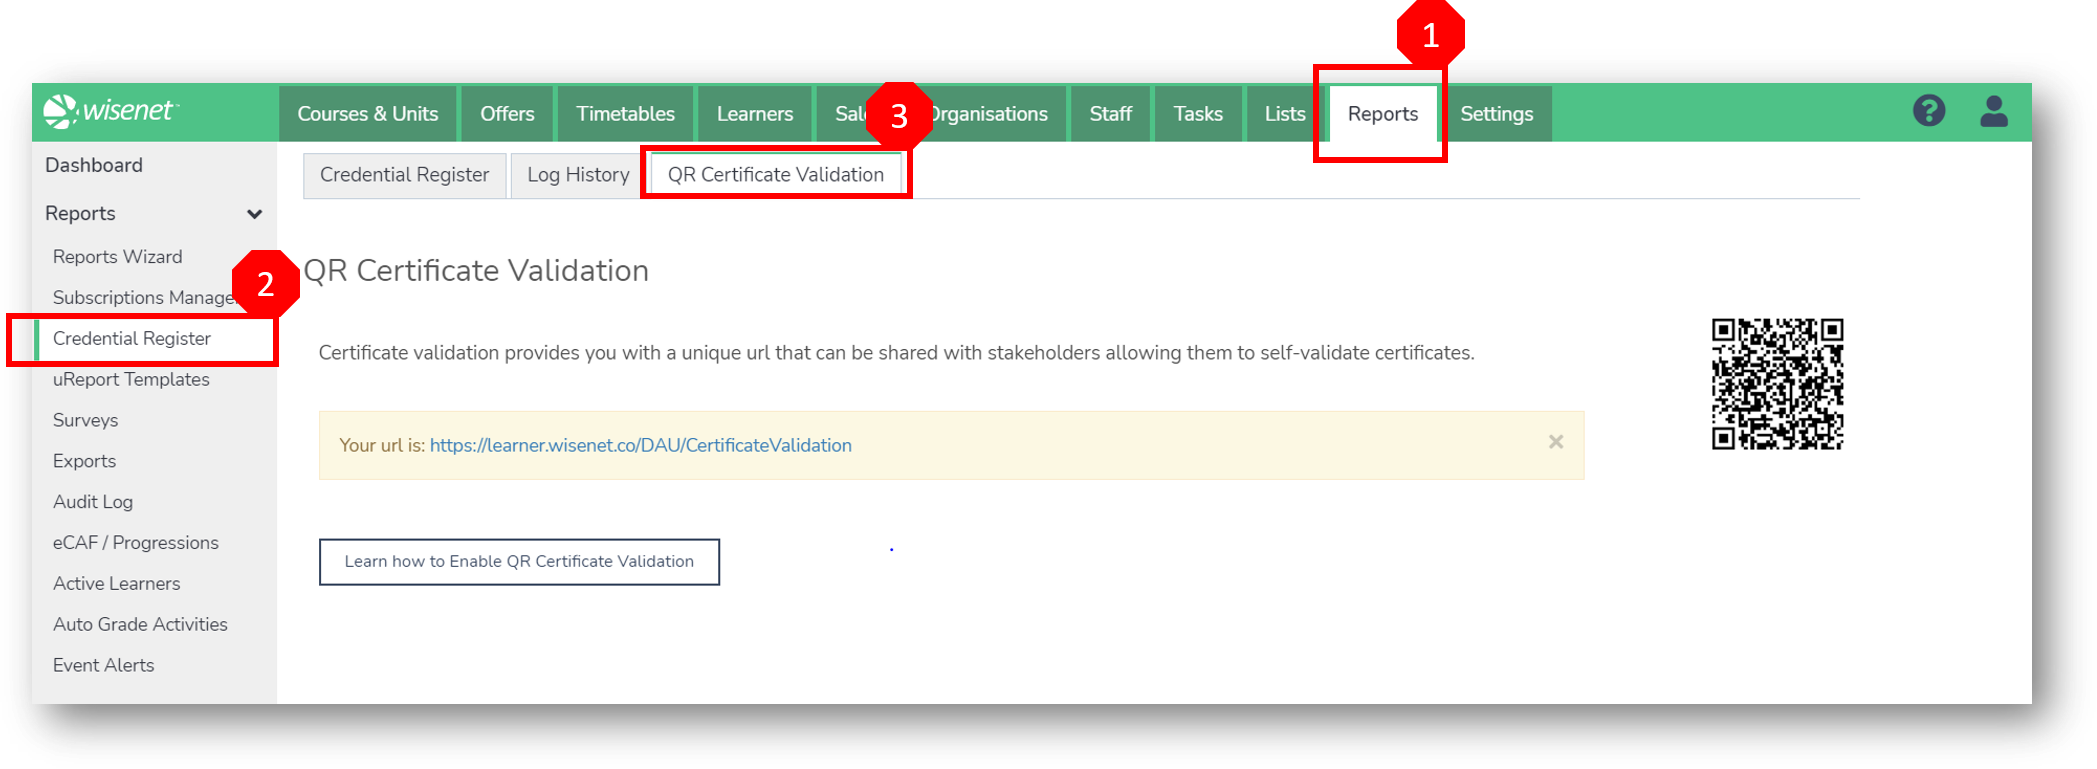
- Login to Wisenet
- Click on Reports and on the Left Side Navigation bar select Credentials Register
- Select the tab QR Certification Validation
- Copy the url and add the link to your website for ‘QR Certificate Validation’
- Copy the QR Code image by:
- right-clicking on the QR Code image
- choose Save As and save to your computer
3. Add QR Code to Certificate
Once you have downloaded your QR Code, you can then insert and resize it as an image in your Credentials Word Doc Template.
4. Validate QR Code
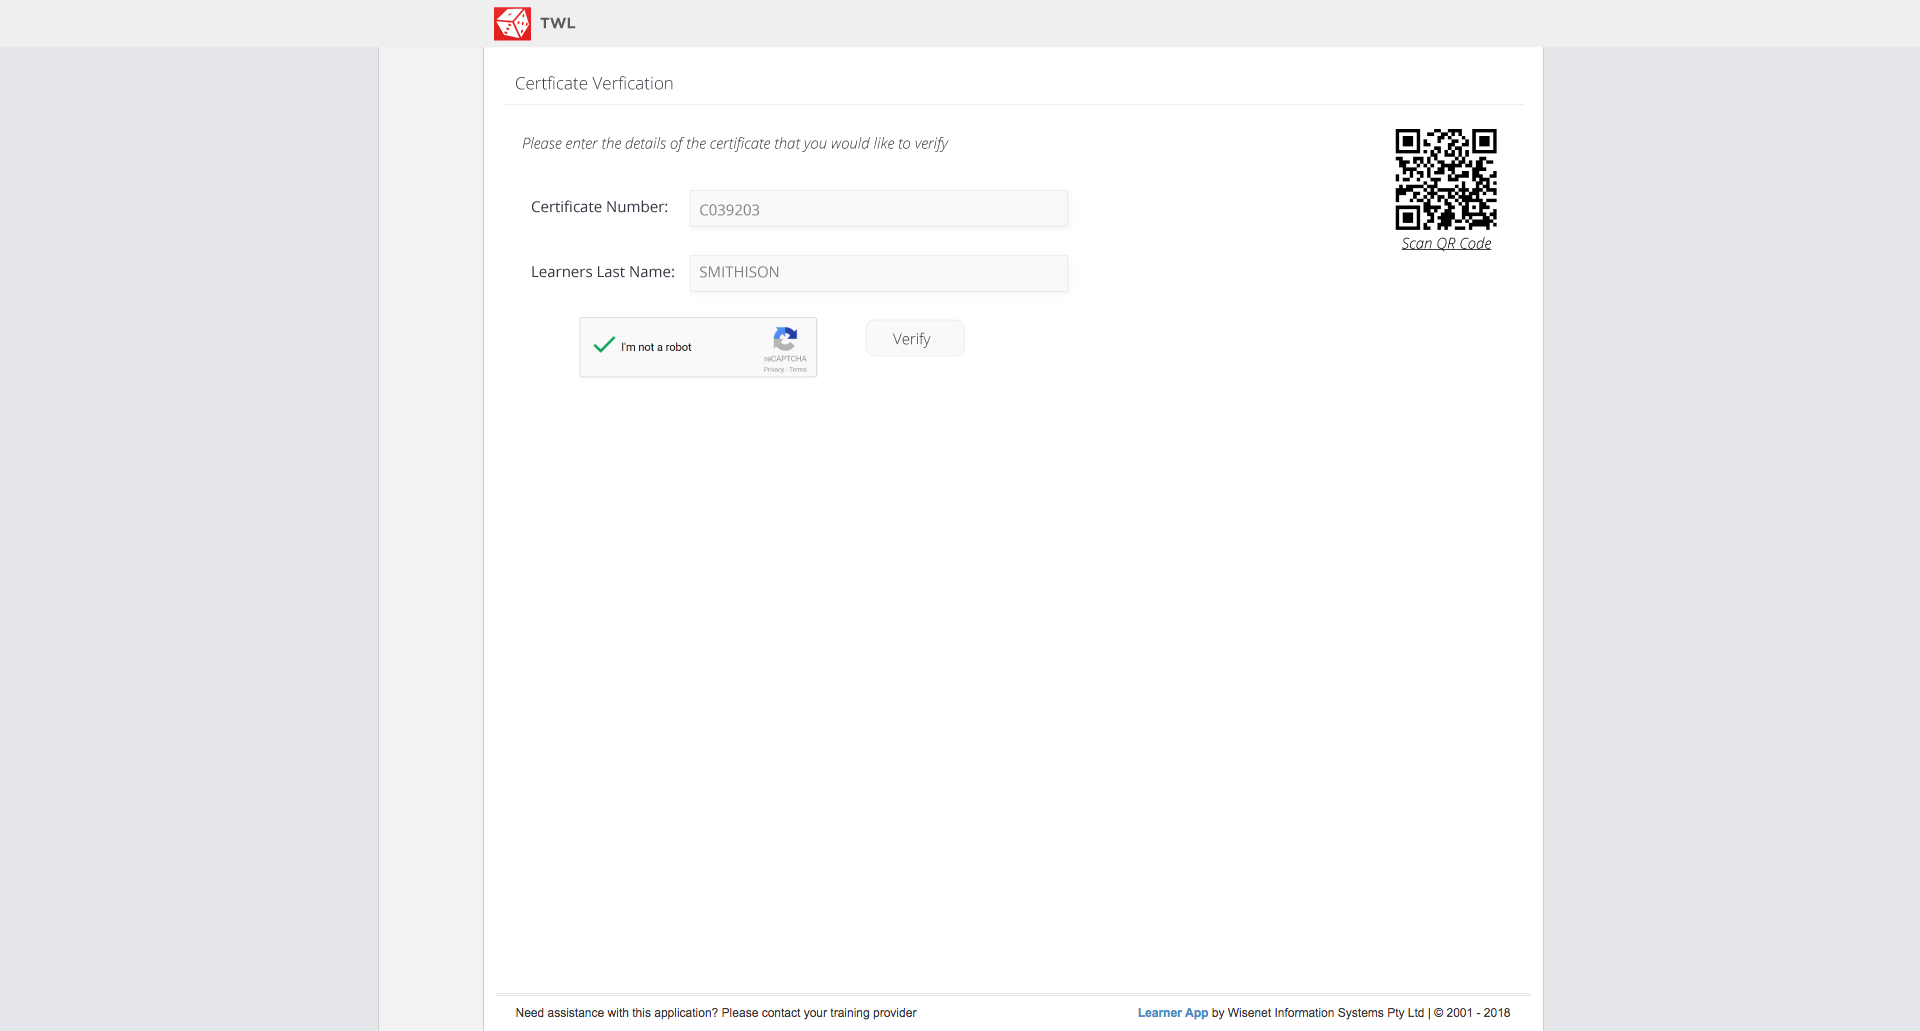
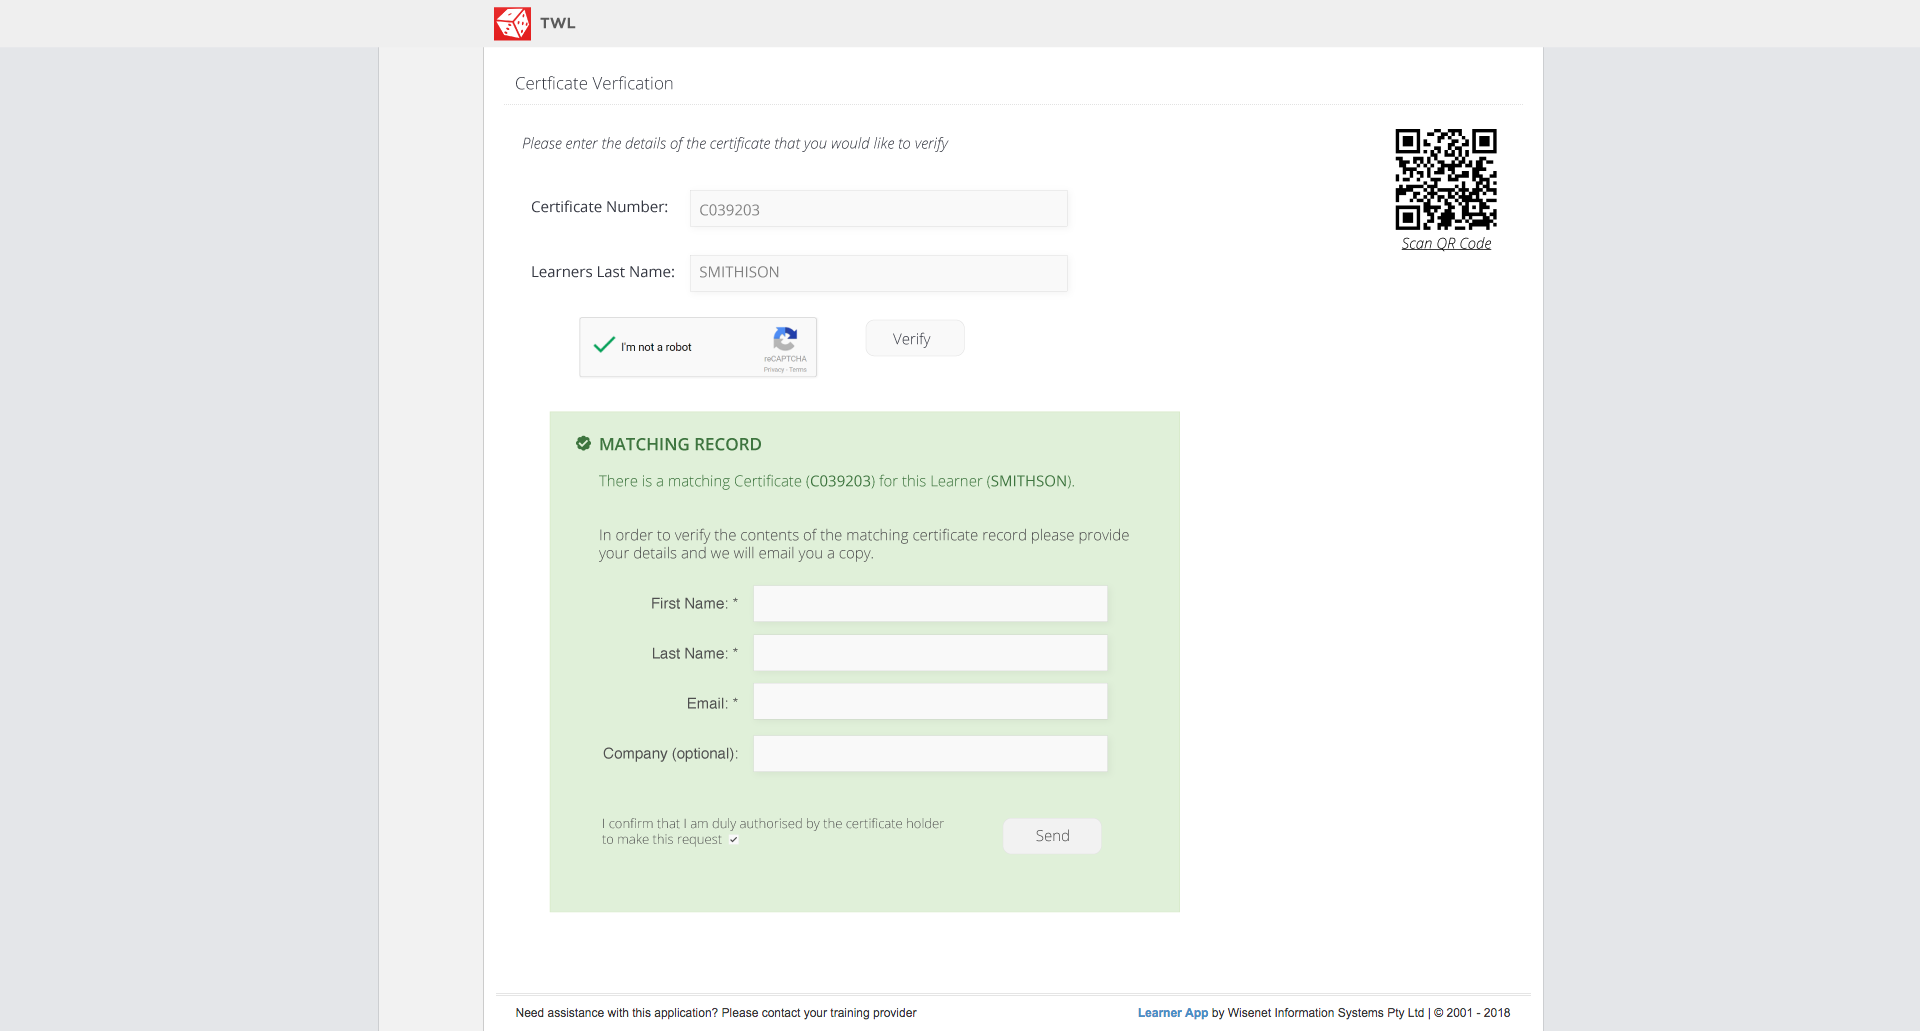
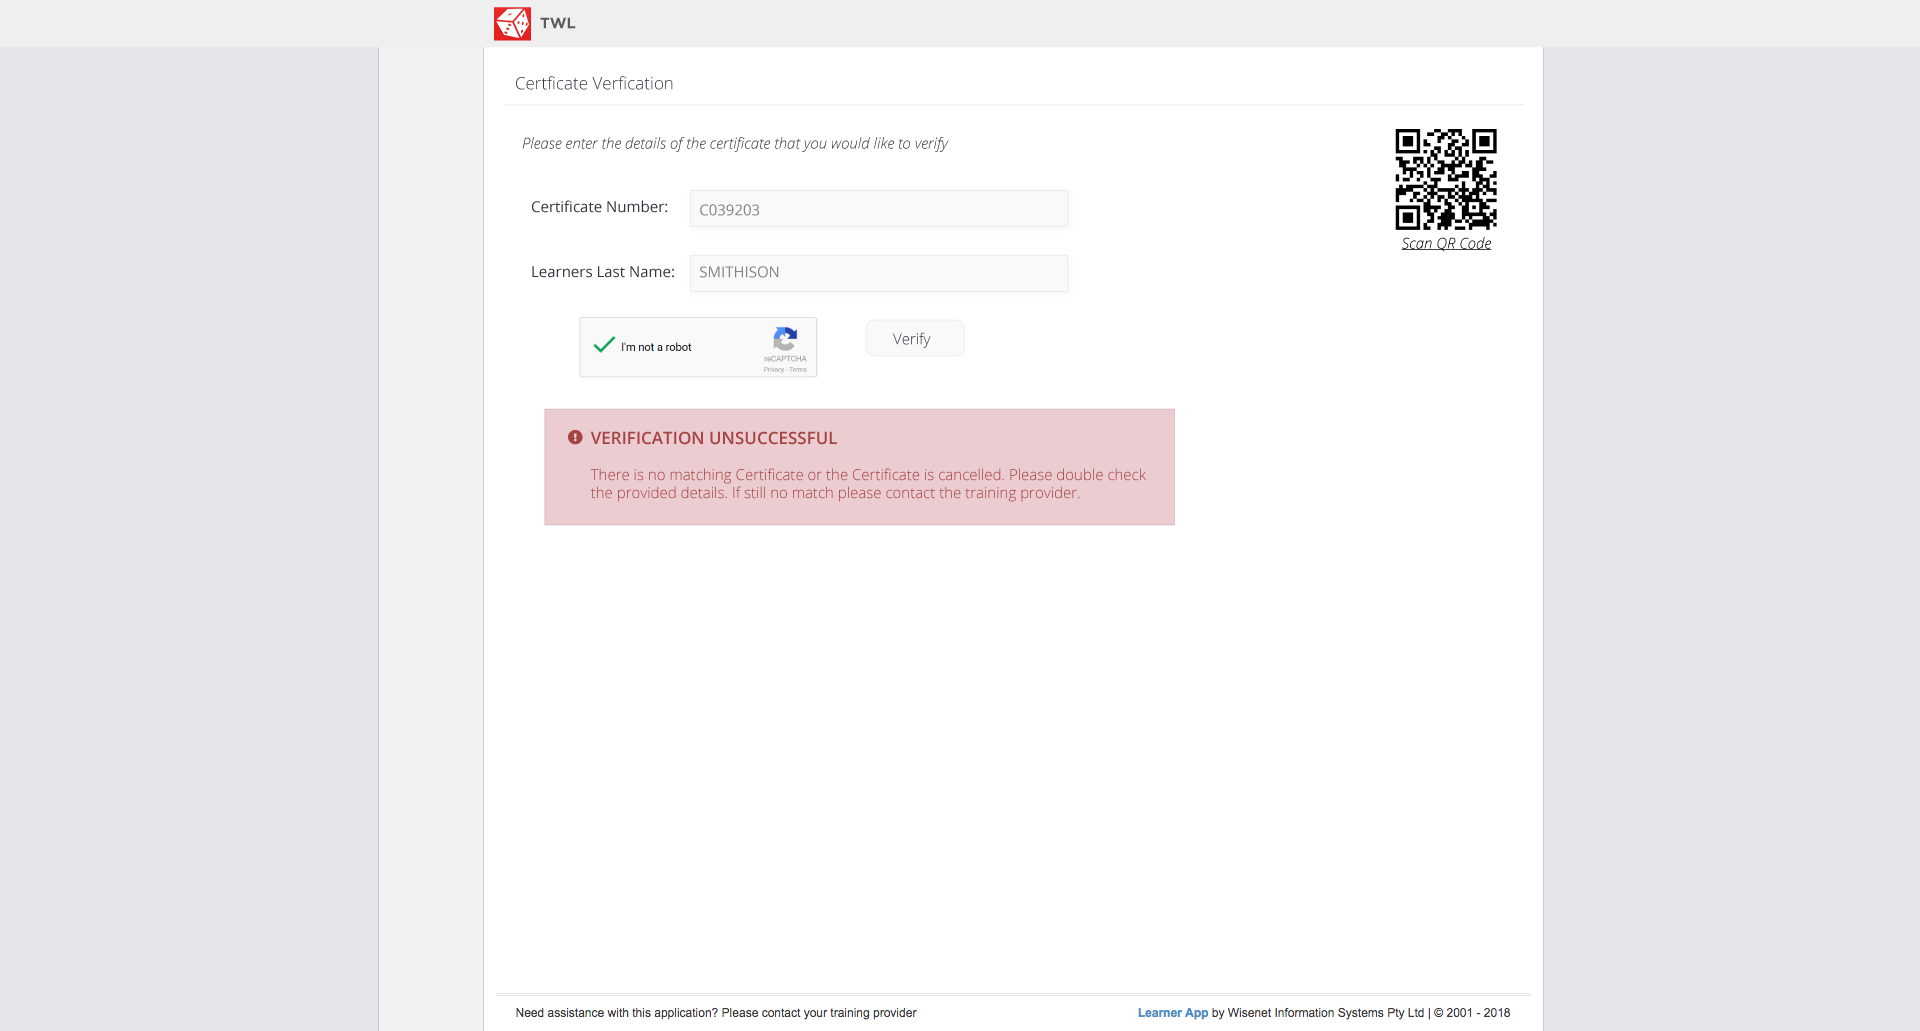
Once the credential with the QR Code has been issued, employers can scan the QR Code and enter the Certificate Number and the Learner’s Last Name to verify the credential.
NOTE: Requirement to scan
- A Barcode Scanner App of choice will need to be downloaded on smartphones or tablets. Many modern smartphones also have QR Code scanners built into their camera software.
- If the Validation is successful the Employer can request a copy of the Certificate.
- When it has validated, an email is sent to the validator and another to the Learner advising that this was done and, is stored in Course Enrolment logbook
5. Customise your QR Code Validation Page
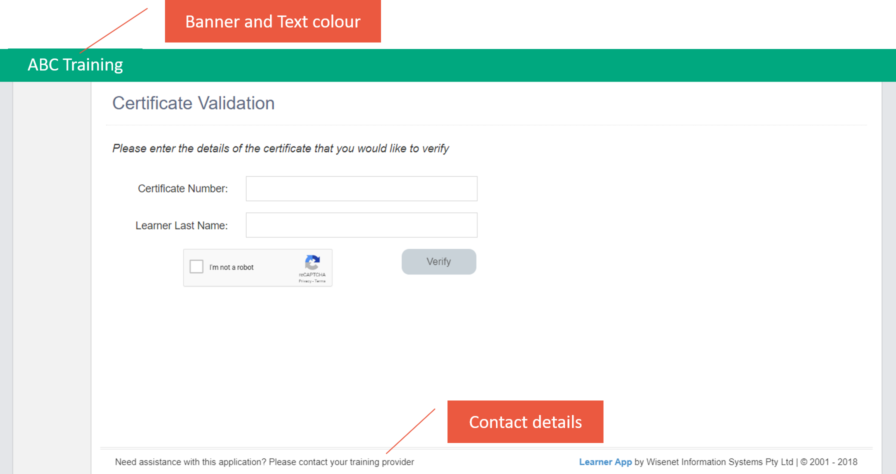
We recommend that you change your heading banner and contact details once QR Code Access has been set up (see image below for default).
- Navigate to LRM > Settings
- In the Apps Settings widget, click on Learner App
- Change Learner App Top Banner Fill Colour, Name, and Help Contact details etc to customise your QR Code validation page
Learn More? How to Edit Learner App Settings


