
Wisenet provides a central view of payments received, making it easy to find a payment, review its details and manage how it has been applied.
From the Payments page, you can search and filter payments, view payment and debtor details, check whether a payment is fully or partially applied, and manage payment allocations where required.
This article explains how to search for payments and use the available payment management actions.
1
Search for a Payment
- Navigate to LRM > Finance.
- From the left navigation menu, select Payments.
- The Payments page displays a list of all payments.
You can search for a payment in two ways.
Use the search box
If you know the Receipt Number or Debtor Name, enter it directly into the search box to quickly find the payment.
Use filters
For a more targeted search:
- Click Add Filter.
- Select the field you want to filter by.
- Depending on the field selected, additional filtering criteria will appear.
- Enter or select the relevant criteria.
- Click Done.
- Your selected filters will appear above the filtered search results.

2
View Payment Details
Once you have found the relevant payment you want to view, click on the Receipt Number.

The Payment Details page will now open for you to view the payment details such as:
- Payment Status
- Debtor
- Payment Date
- Payment Method
- Payment Summary including:
- Subtotal
- Transaction Fees
- Total Amount Paid
- Allocated Invoice Details
- Amount Unutilised
- Logbook Activities
- Timeline

3
View Debtor (Optional)
Click on the Debtor to navigate to the Debtor Details page
- The Debtor can be either a Learner or a Workplace.

4
View Logbook Entry Details and Payment Receipt (Optional)
Click on the relevant Logbook Item and when the logbook entry drawer opens, review the additional details provided on the drawer.
Additionally, click View Receipt to view the payment receipt and/or download the receipt as PDF.

Manage Payment Actions
From the payment details page, the following actions may be available:
- Resend payment confirmation
- Refund Payment
- Add Task
- Allocate Payment
Note: If the full payment amount is available to be refunded, the Full Refund option is displayed.

1
Resend Payment Confirmation
Use this option to resend the payment confirmation to the debtor.
- Click Action.
- Select Resend payment confirmation.
- The payment confirmation will be resent to the debtor via email.

2
Refund Payment
Use Refund Payment when an eligible payment needs to be refunded.
- Click Action.
- Select Refund Payment.
- Enter the Refund Amount.
- Select the Refund Date.
- The Finance Payment Method is automatically set to Manual.
- Select the Payment Method used to process the refund.
- Choose how you want to complete the refund:
- Issue to process the refund.
- Issue & Email to process the refund and email a refund confirmation to the debtor.
- Review the Refund Confirmation message and confirm
Note: The Refund Date must be on or after the original Payment Date. The Payment Date and Refund Date must also fall after the Accounting Lockdown Date.
Learn more How to View and Manage Refund Details

3
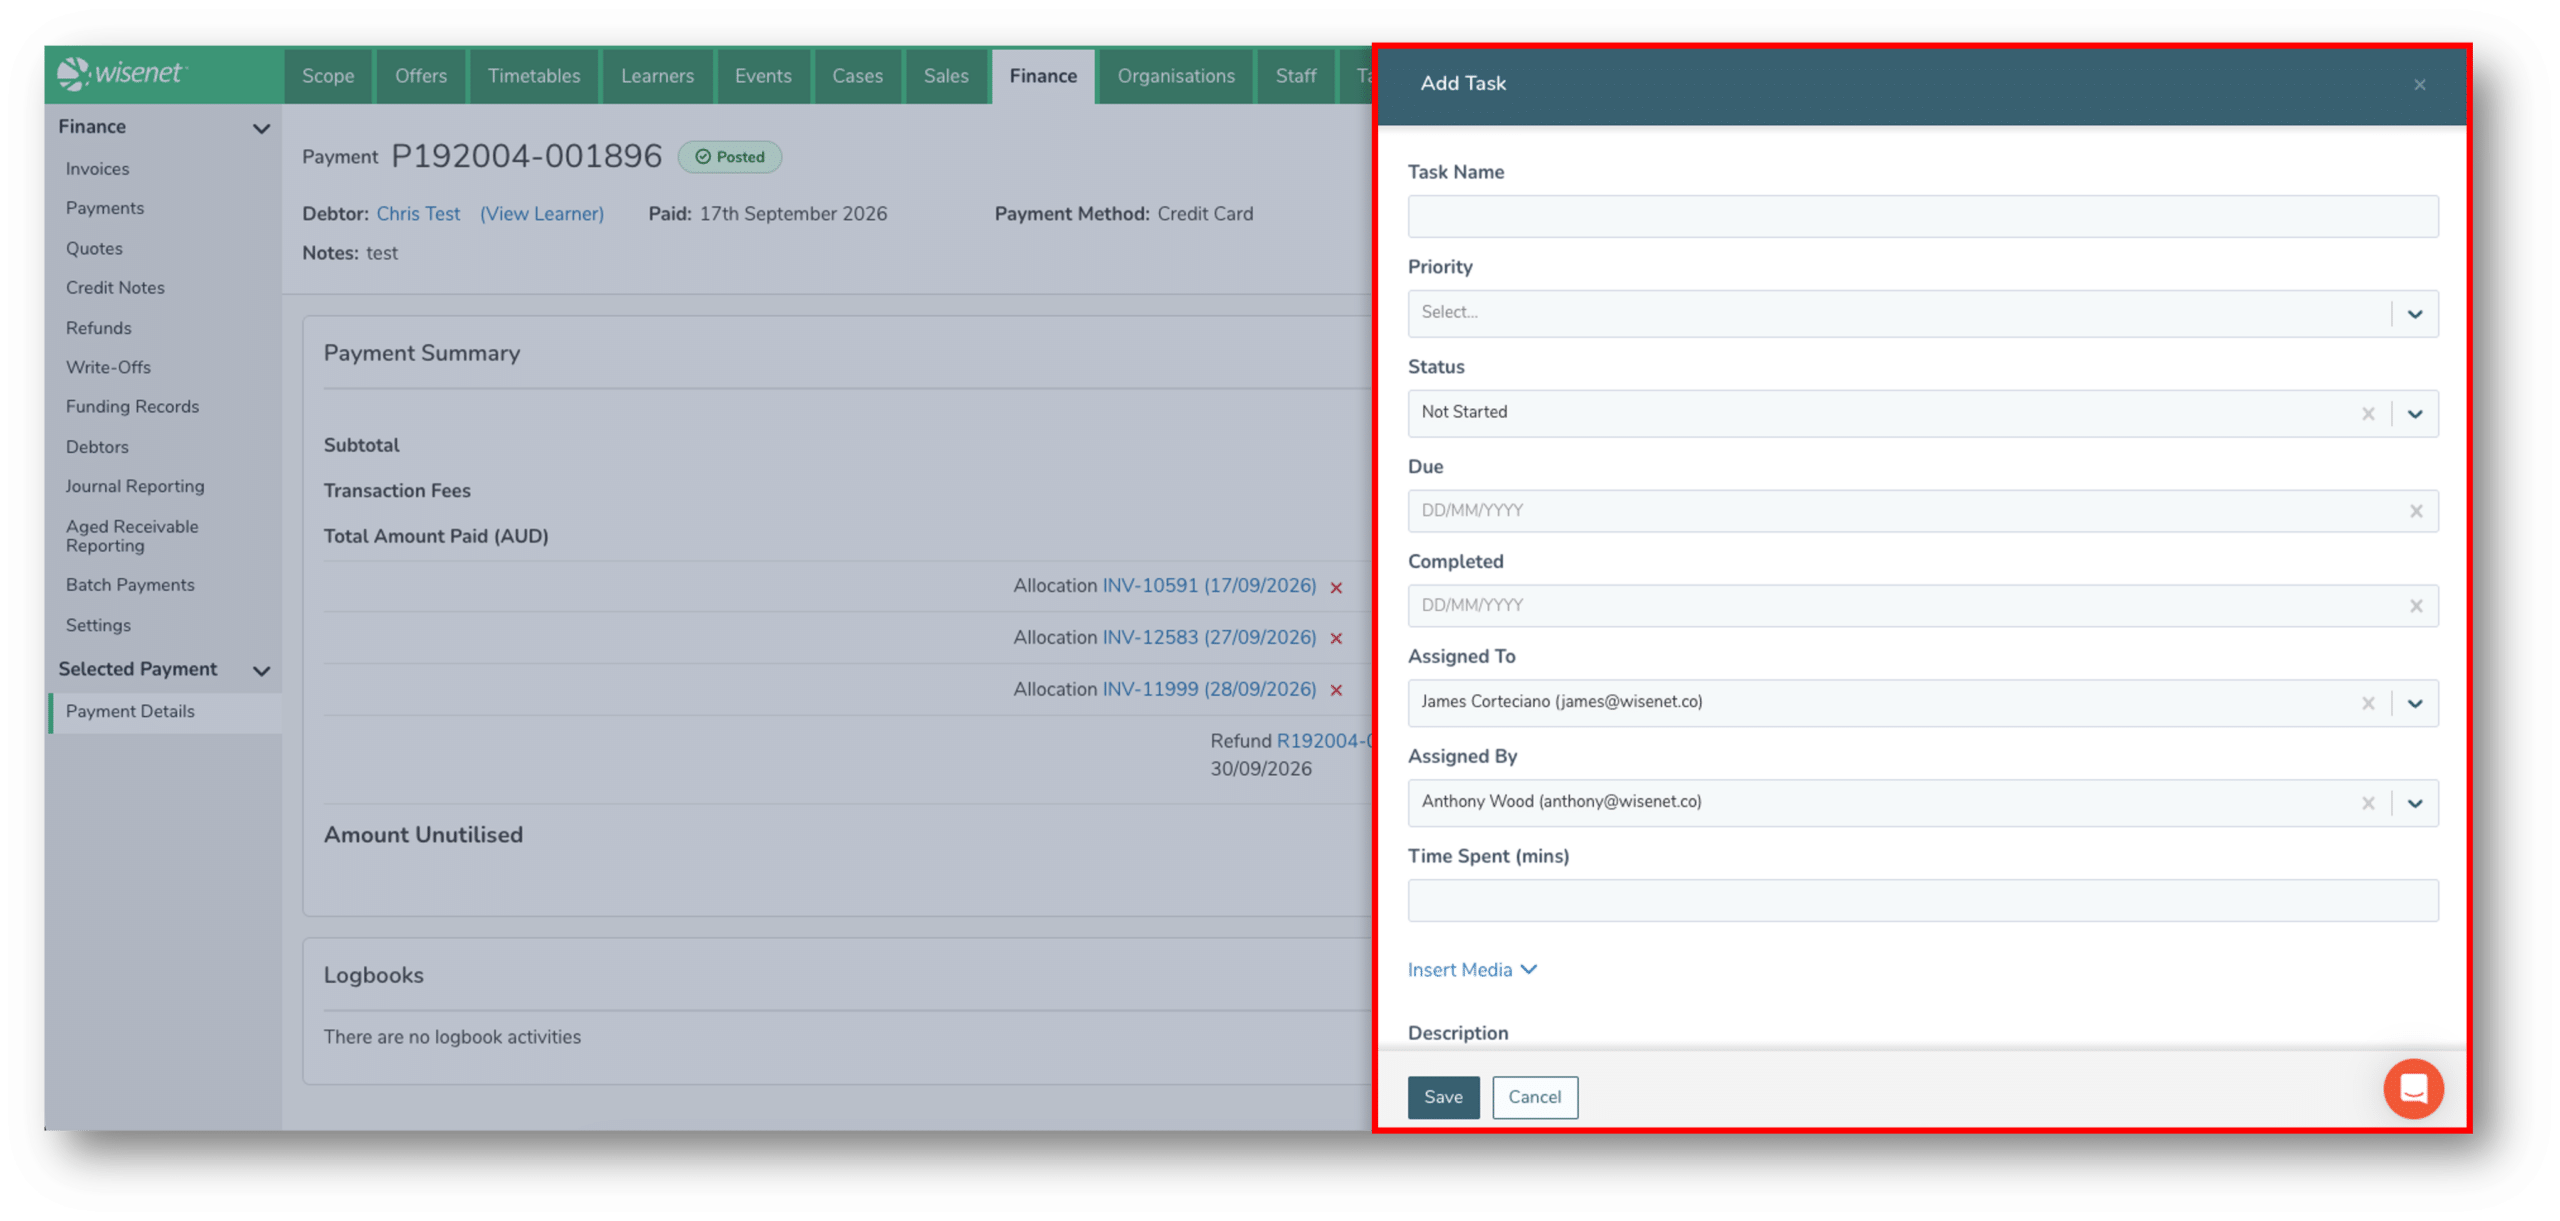
Add Task
Use Add Task to create a task associated with the payment.
- Click Action.
- Select Add Task.
- Enter the required task details.
- Save the task.
Learn more How to View Tasks
4
Allocate Payment
Use Allocate Payment to apply some or all of the unutilised payment amount to one or more invoices belonging to the same debtor.
Only Posted payments can be allocated, and payments can only be allocated to invoices with an Issued status.
- Click Action.
- Select Allocate Payment.
- Payment Number is auto-populated
- Select the Invoice the payment should be applied to.
- Enter the Allocation Amount. (Note:Allocation Amount must be less than or equal to the unutilised amount)
- Select the Allocation Date.
- Review the allocation details and complete the allocation.
Note: The Allocation Date must be on or after the original Payment Date. The Payment Date and Allocation Date must also fall after the Accounting Lockdown Date.

5
Unallocate Payments
Unallocate a payment when an allocation has been made to the wrong invoice or when the payment needs to be made available for reallocation or refund.
Payment allocations are unallocated individually and for the full allocated amount. Once unallocated:
- The payment amount becomes available to allocate again.
- The invoice’s outstanding balance increases by the unallocated amount.
- If the invoice was previously Paid and now has an outstanding balance, its status changes to Issued.
