Once a Sales Application has been created you can use Filtered Lists and other search functionalities to narrow down your search result.
LEARN MORE: Filtered Lists and Other Search Functionalities
1
Navigate to LRM > Learners > Applications OR LRM > Sales > Applications
- These pages are the same and will show you a list of all Applications in the LRM.
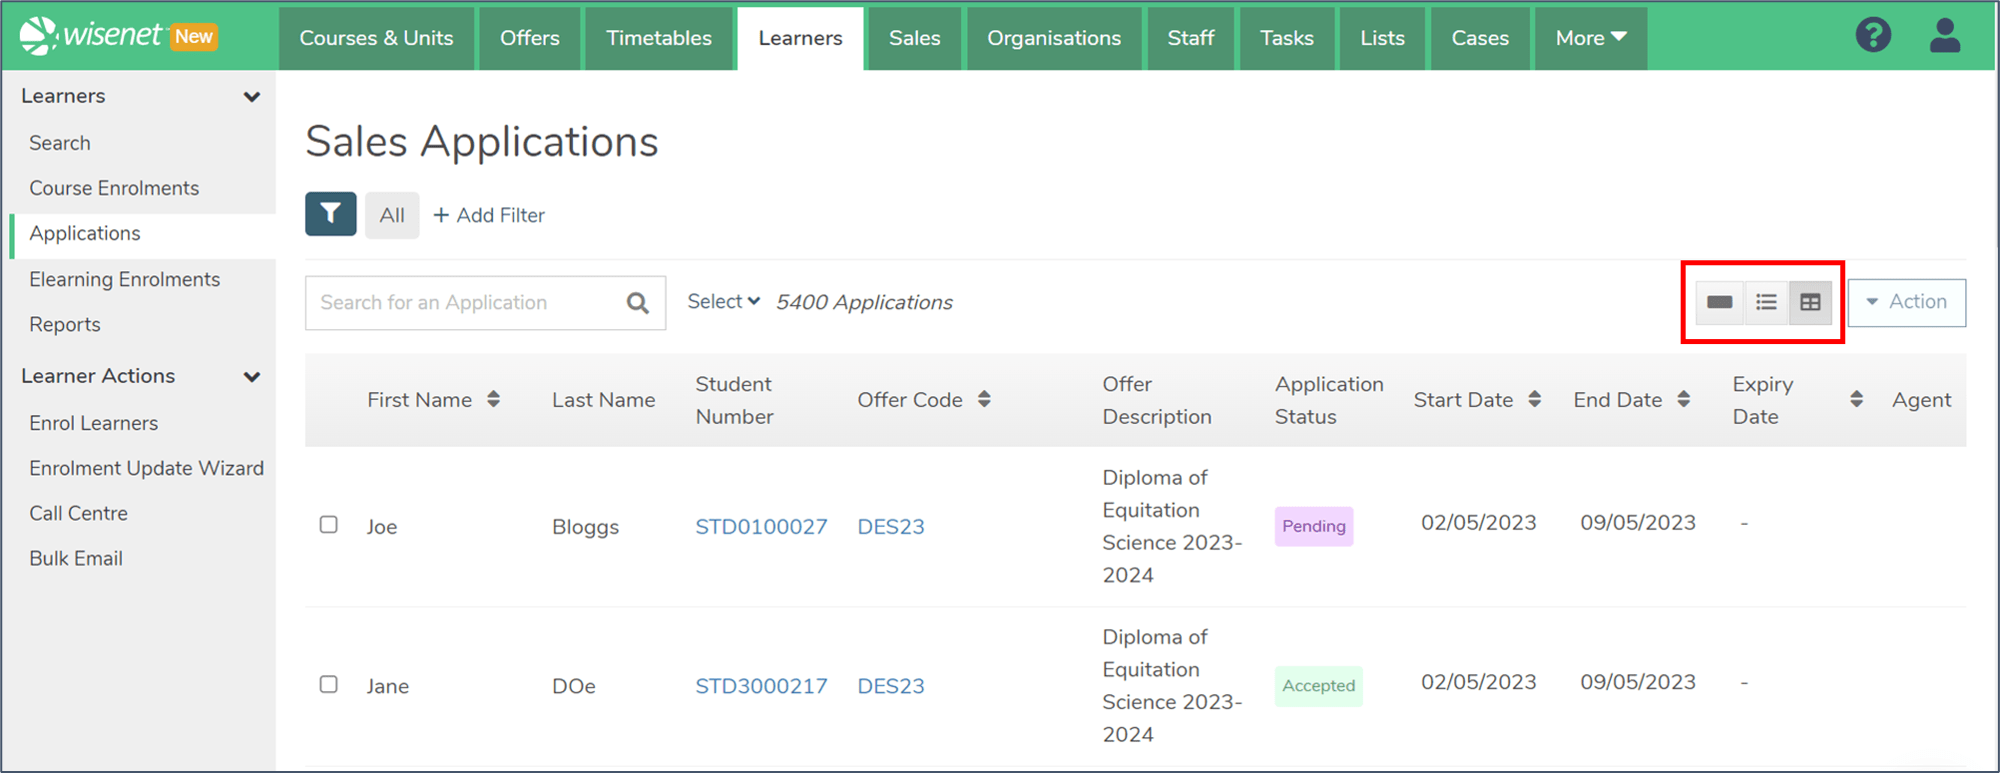
- There are three views:
- Expanded List View
- List View
- Table View (default)
- Click on an icon to change the view.
2
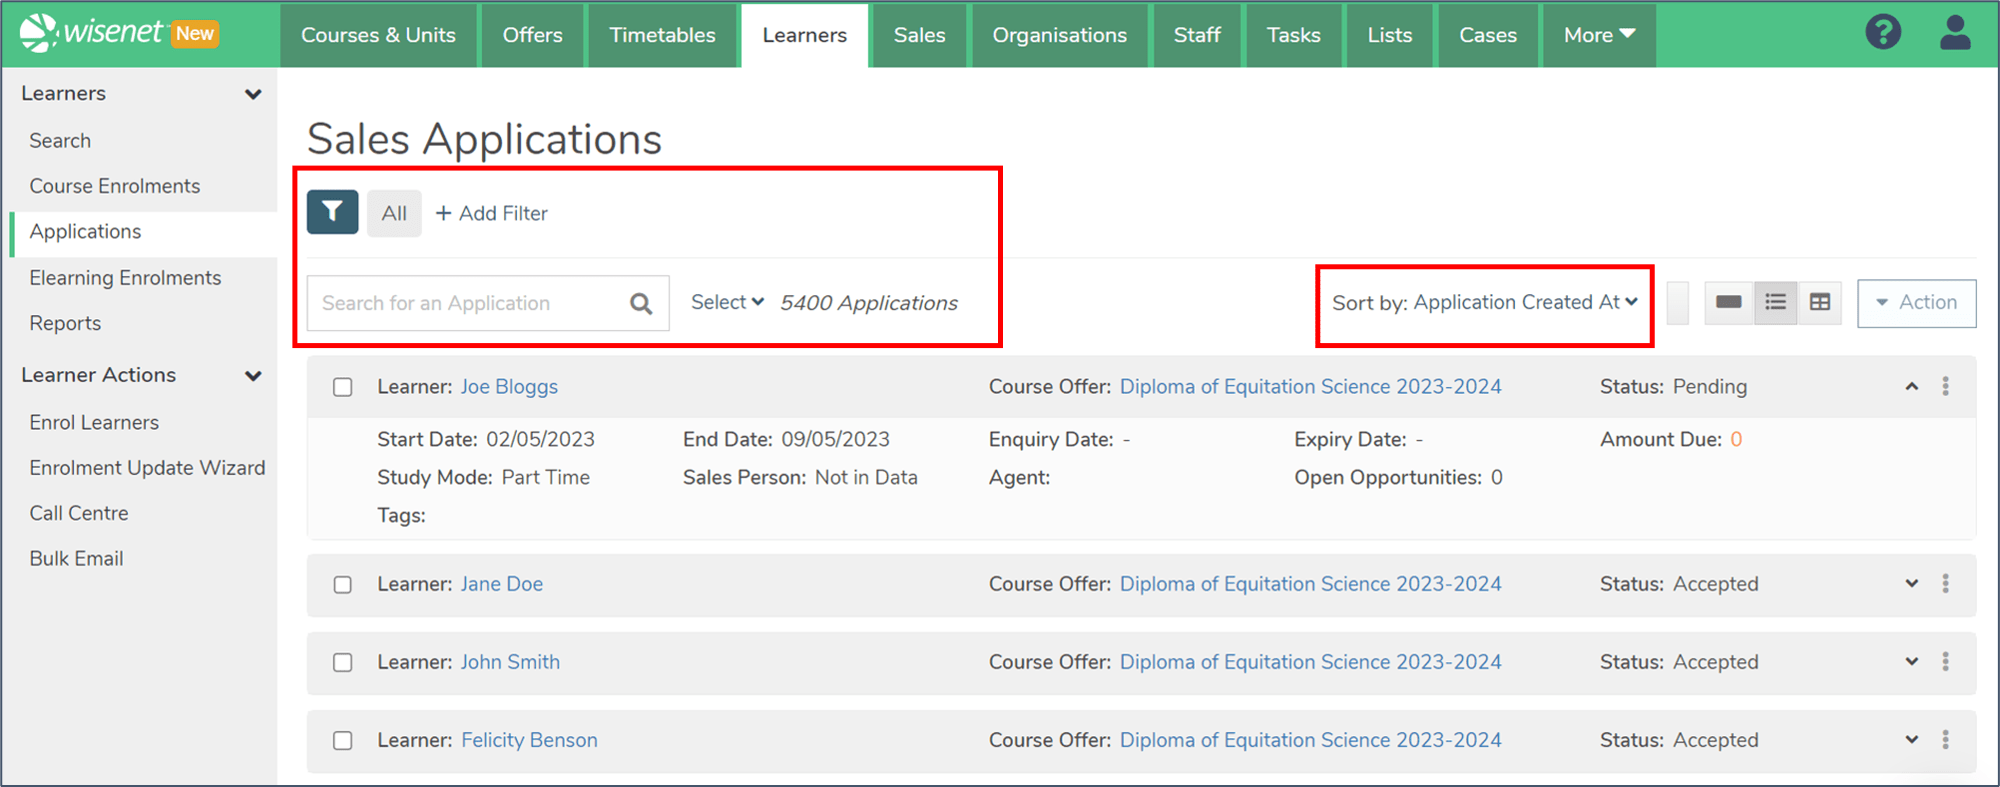
Search for an Application
You can search for an Application in several different ways. You can use some or all of these methods at the same time to refine your results.
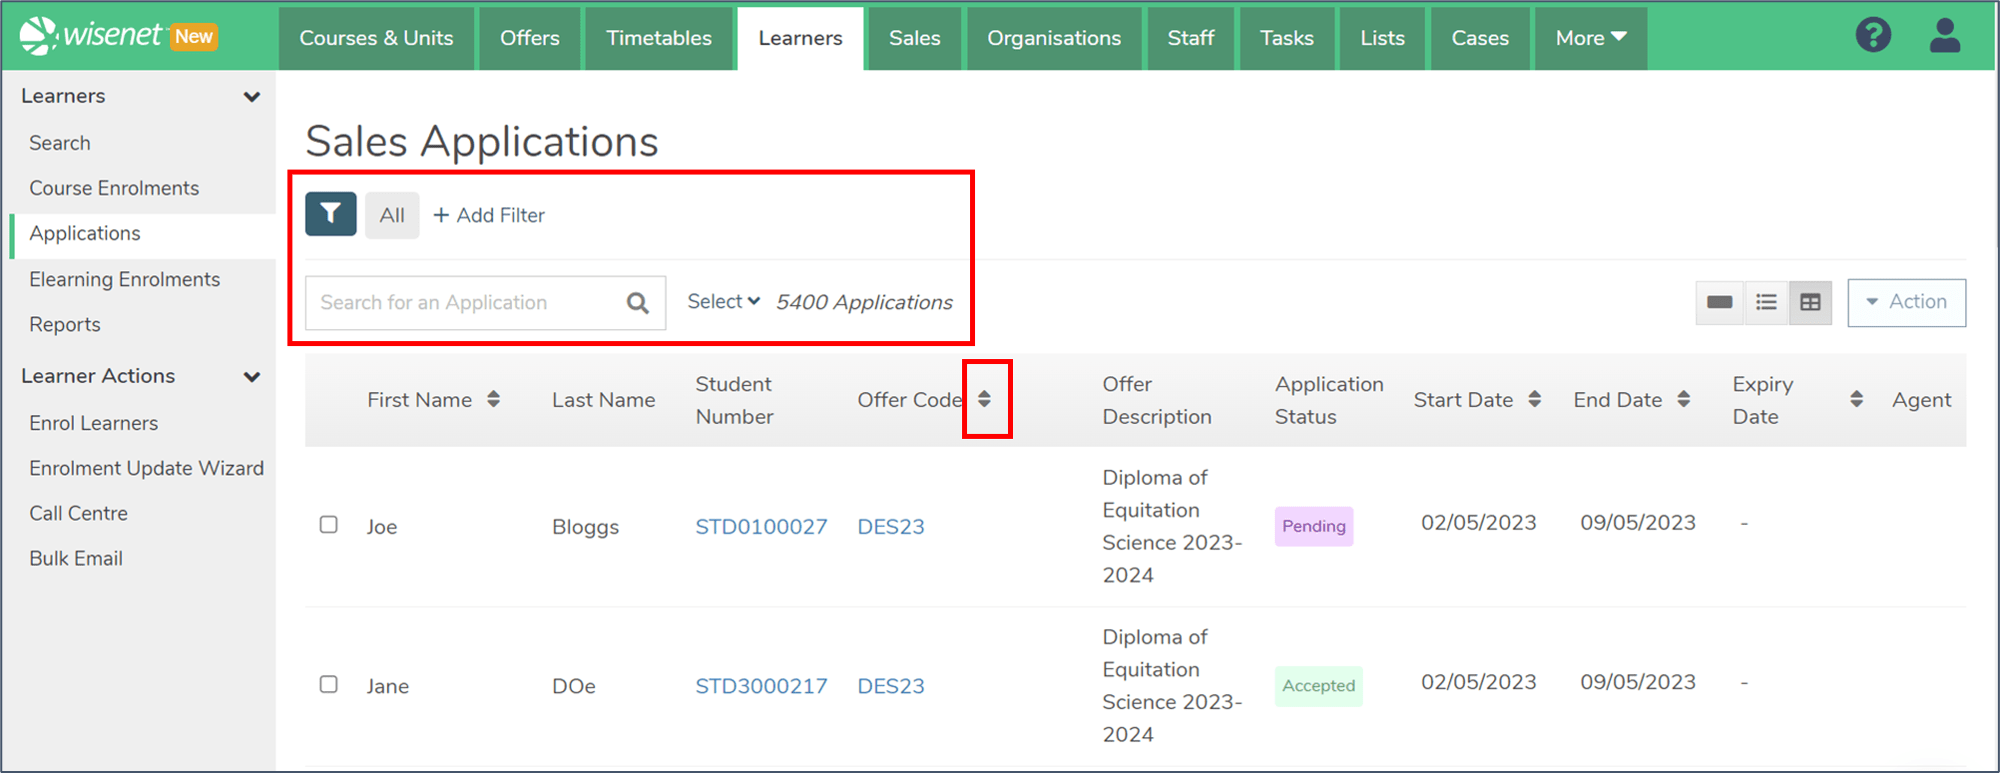
- In the Search Bar, you can search by:
- Learner First Name
- Learner Last Name
- Learner Preferred Name
- Learner Ref Internal
- For List and Expanded List views, use the Sort by dropdown menu to sort by:
- Course Offer Code
- Learner First Name
- Expiry Date
- Start Date
- End Date
- Application Created At
- Last Modified
- For Table view, use the arrows next to the column header to sort by that column.
- Add one or more Filters to filter the list of Learners:
- Click “Add Filter”
- There are many fields you can filter by.
- Optional: Click on the filter icon to save a filtered view.
3
See more information on a search result
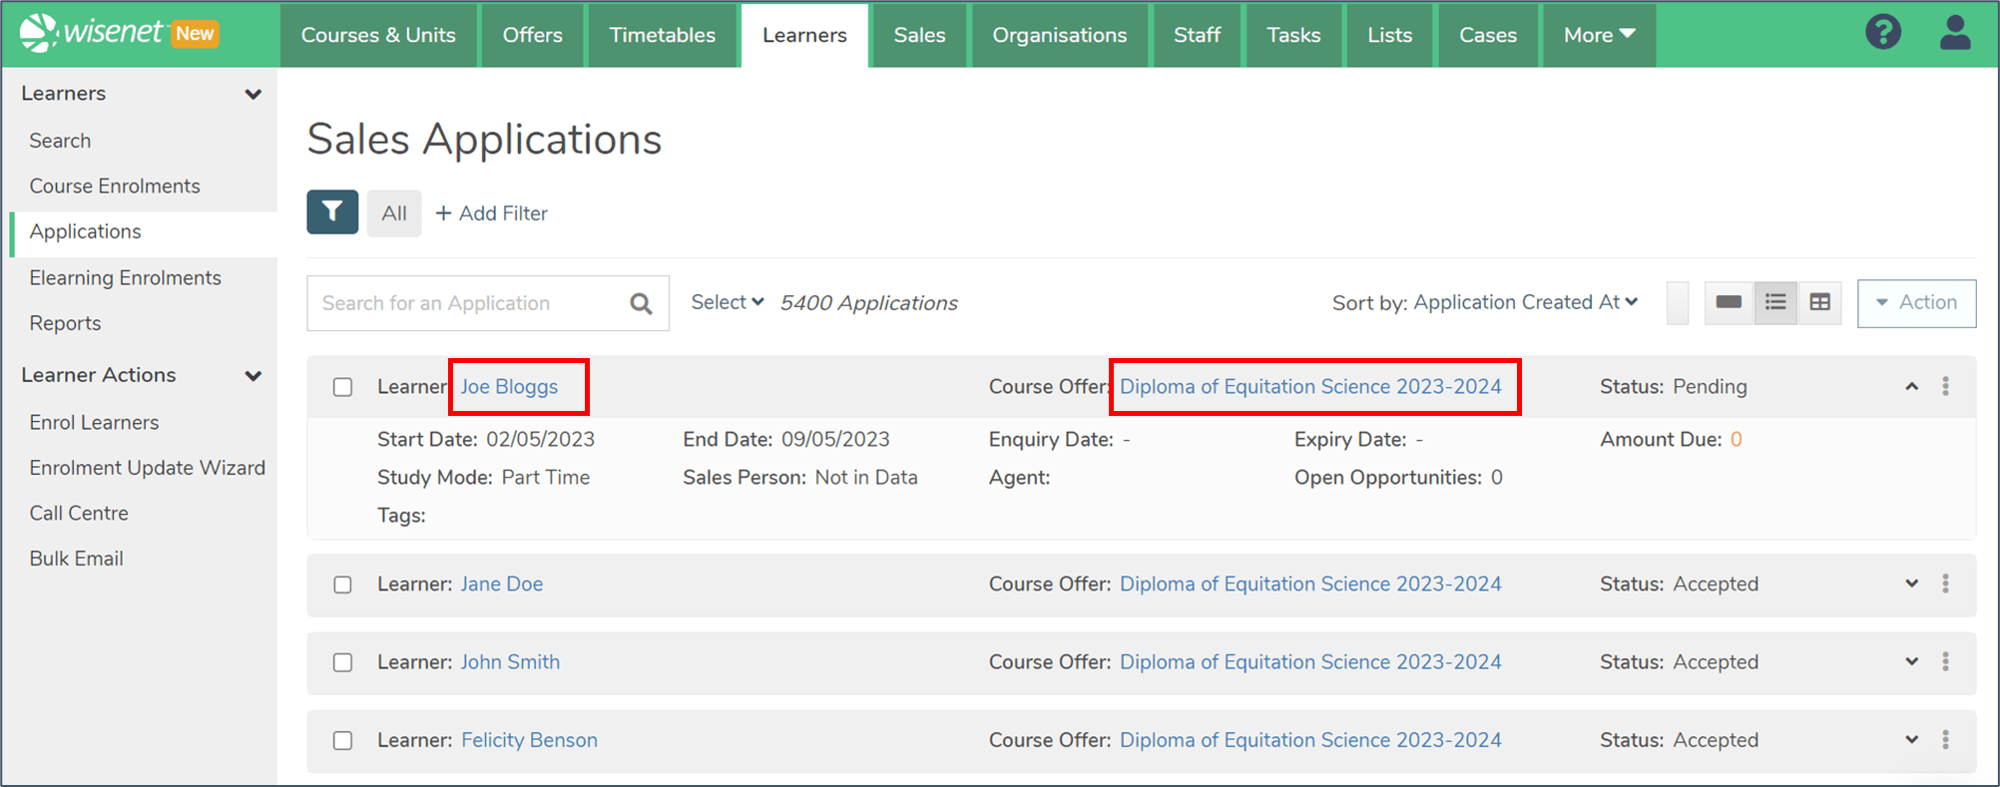
In List View, click on a card to expand it and see:
- Start Date
- End Date
- Enquiry Date
- Expiry Date
- Amount Due
- Study Mode
- Agent
- Open Opportunities
- Tags
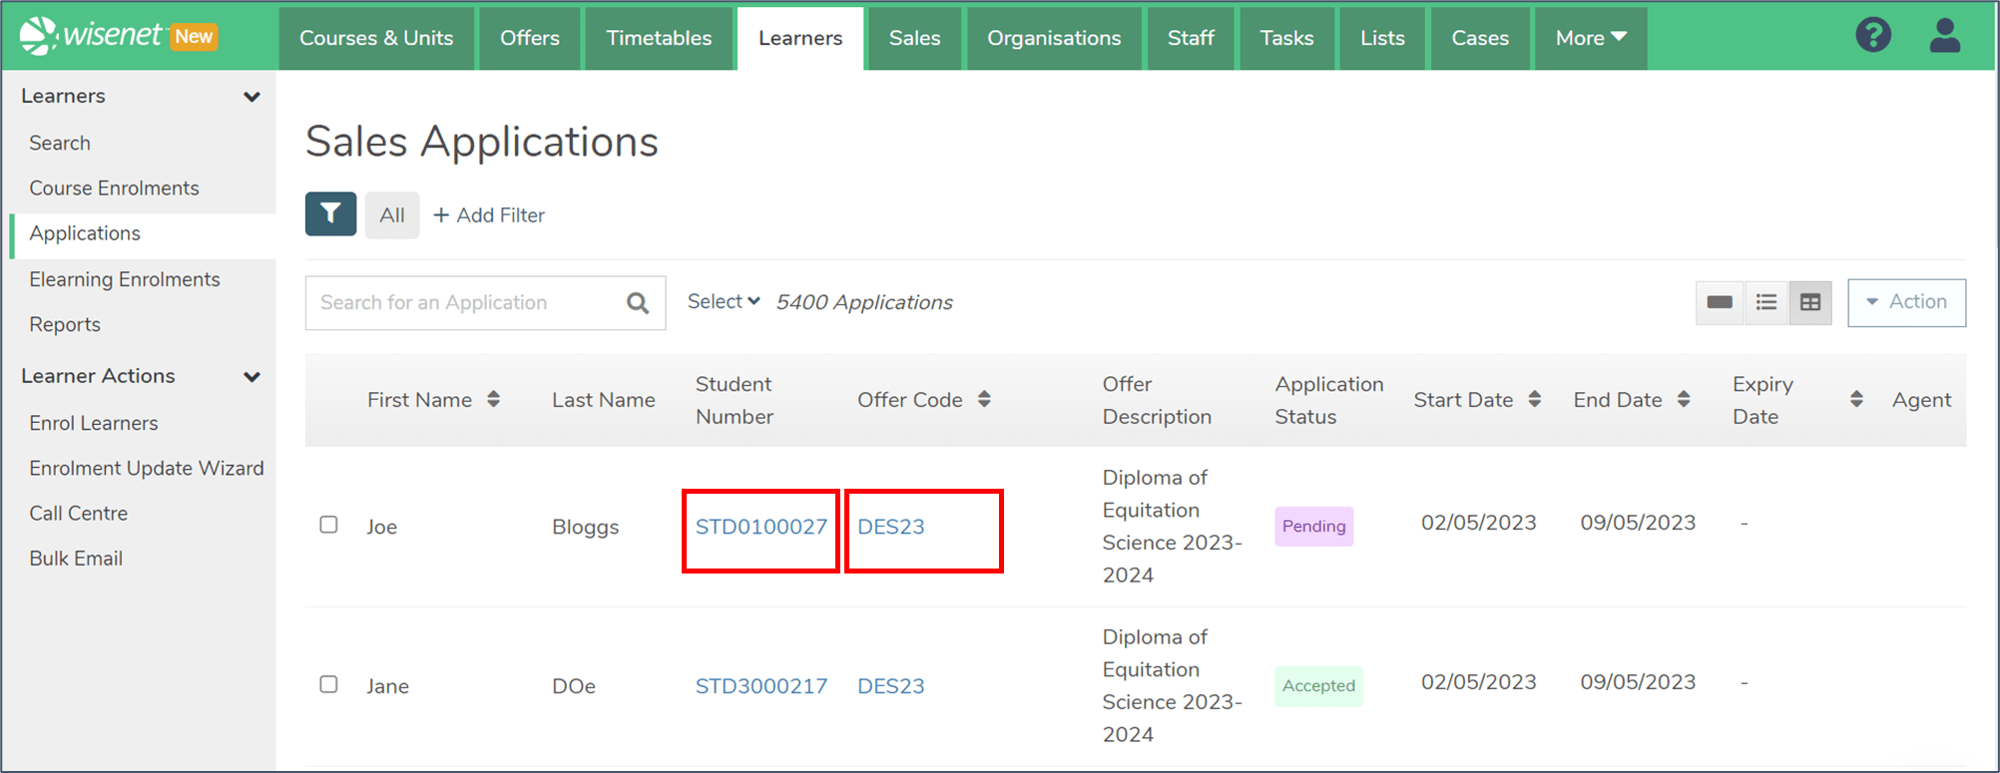
Click on the Student Number (in Table View) or the Learner’s name (in List and Expanded views) to take you to the Course Enrolment Dashboard page.
Click on the Offer Code (in Table View) or the Course Offer (in List and Expanded views) to take you to the Course Offer Detail page.
