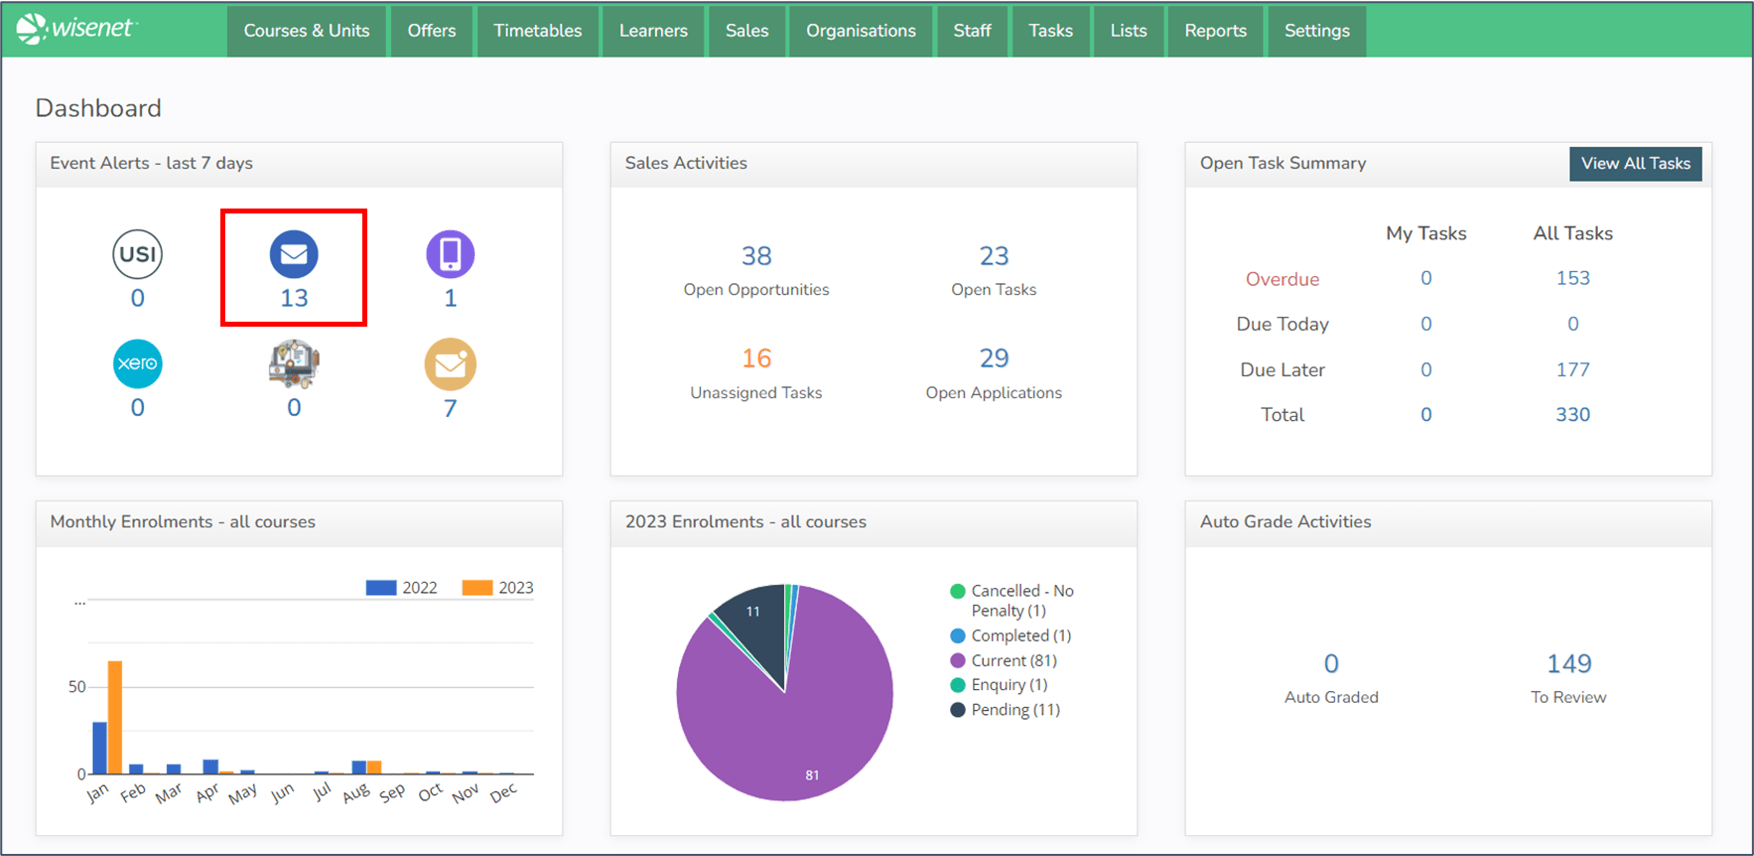
Outbound Email Event Alerts provide details of when outbound emails were unsuccessfully sent. There is an alert count on the dashboard to highlight any issues. Clicking on the count will take you to LRM > Reports > Event Alerts > Outbound Emails records.
1
Navigate to Outbound Email Event Alerts
- Click on the Dashboard Widget, OR
- Go to LRM > Reports > Event Alerts > Outbound Emails

2
Review the Event Alerts
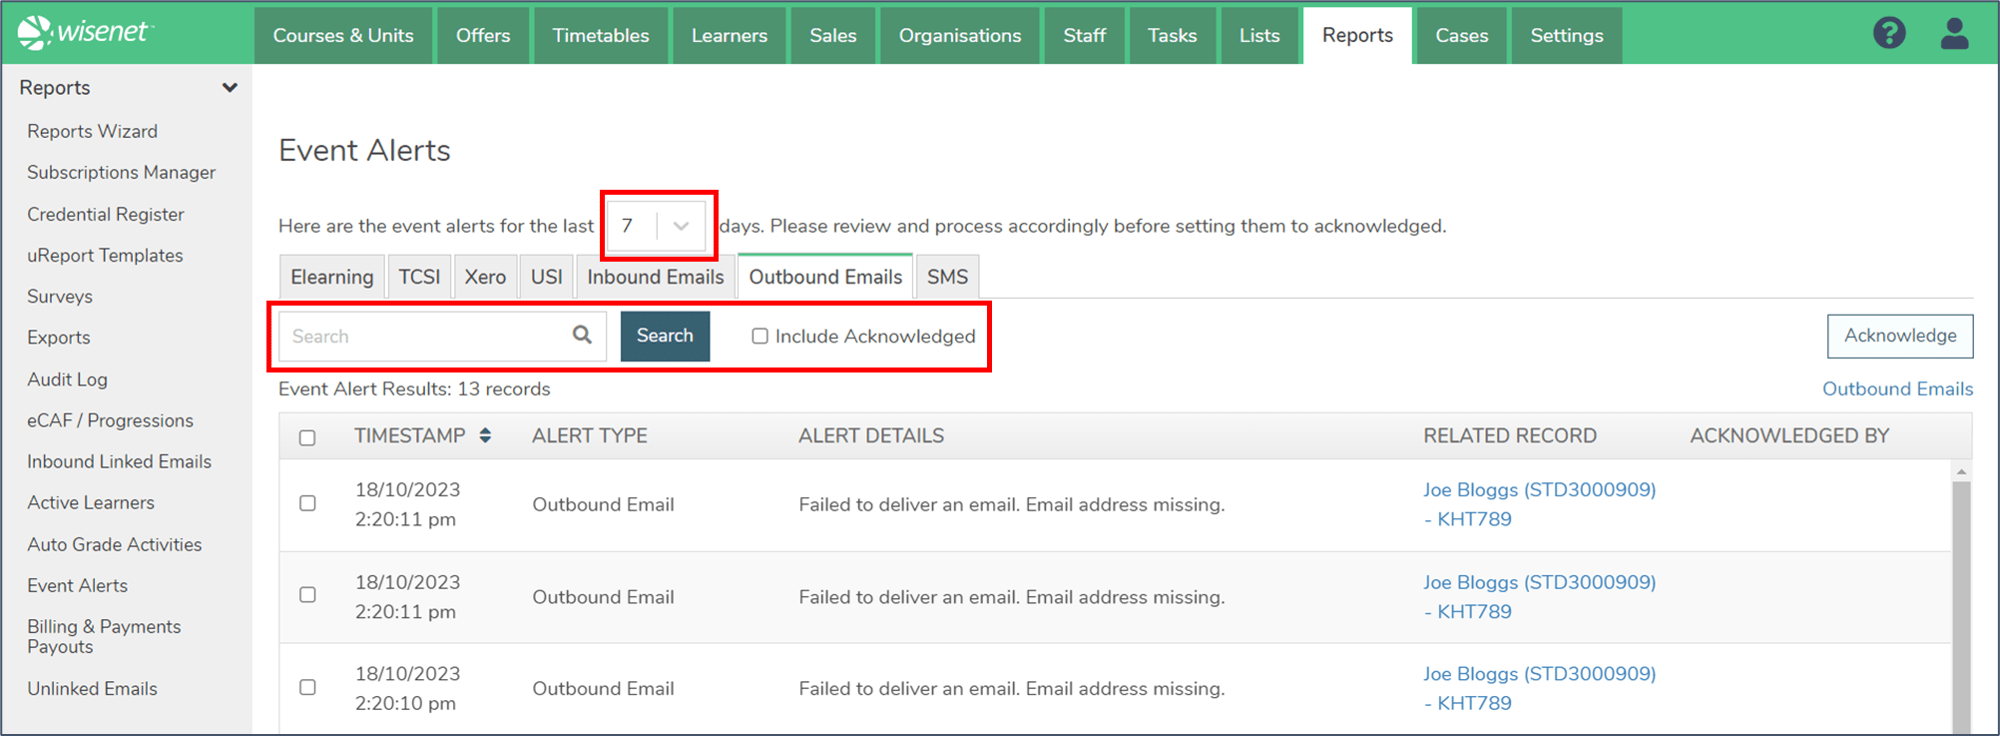
- The Event Alerts tab will default to showing you alerts from the past 7 days. You can adjust this by using the top dropdown menu to show alerts from the past 1-7, 14, 30 or 60 days, or all event alerts.
- Use the Search function to search by Alert Details and Related Records.
- Use the dropdown menu to filter by Alert Type.
- To show alerts that have already been acknowledged, tick the “Include Acknowledged” option.

3
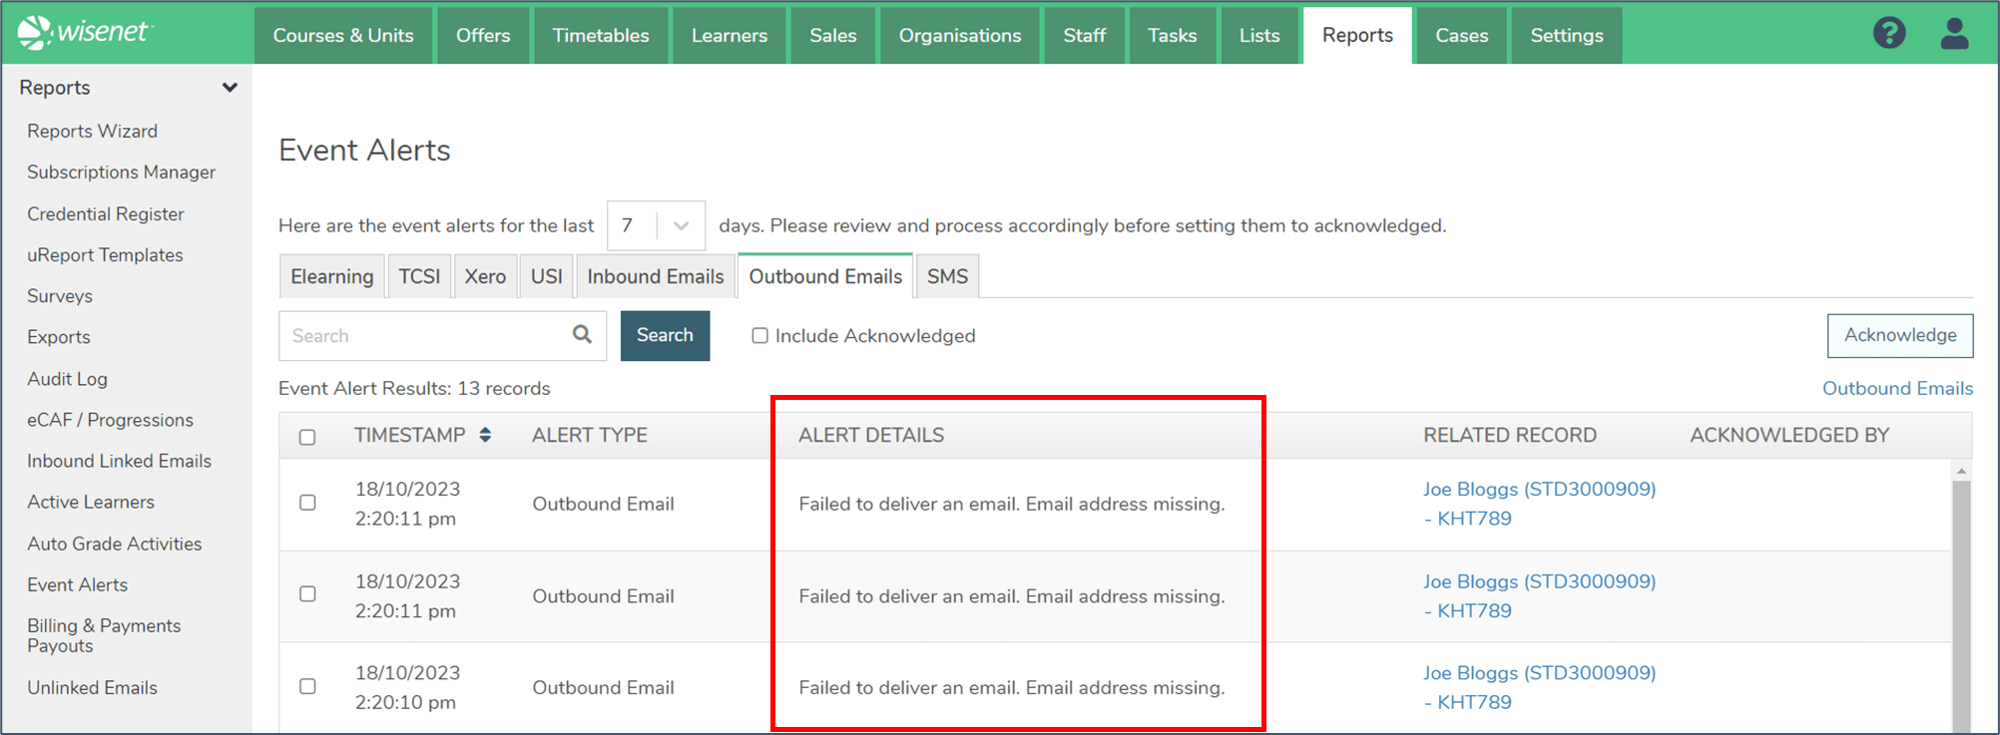
Check the Alert Details
The Alert Details column will show you:
- Delivery status
- Delivery status reason
Outbound Email Event Meaning
- Delivered: Emails are successfully sent to the server
- Bounced: Emails are permanently denied by the server
- Blocked: Emails are temporarily denied by the server
- Deferred: Emails aren’t immediately delivered to the server

4
View the Email (optional)
- Click on the Related Record link to open the email within the relevant Logbook.
- It will open in a new tab.

5
Update Record and Resend Email (optional)
Once it is clear what resolution is required, proceed with updating the record.
- Update the email address of the email recipient, if applicable.
- If the email was part of a Learncycle, you may need to manually resend the email.
6
Acknowledge Alerts
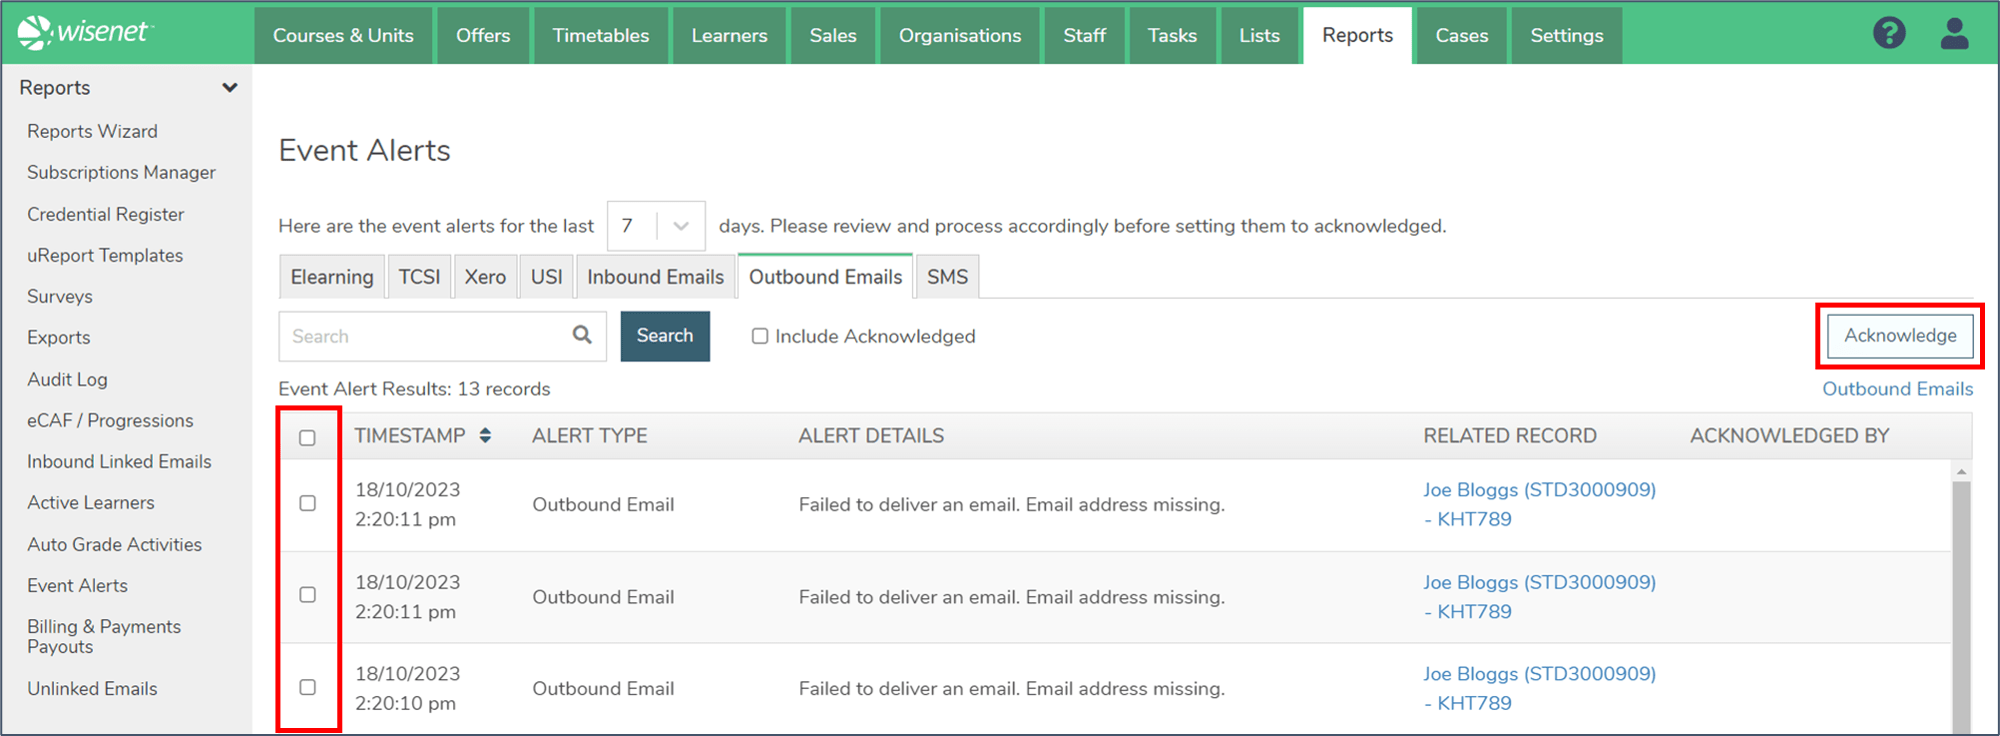
Once an alert has been resolved, set the alert to be Acknowledged.
- Select the record you wish to acknowledge
- Click the “Acknowledge” button in the top right
- Your name will appear in the “Acknowledged by” column.
NOTE:
- Acknowledging a record removes it from the Dashboard count.
- Previously acknowledged records will not show in the Event Alerts tab unless you select the option “Include Acknowledged”.

