If you are trying to use the Learncycles feature in Wisenet and see this ‘Heads Up!’ message “Your account is currently using Old Learncycles. There is no automatic data migration. You will need to first manually set up new learncycles. Completing the new Learncycle activation will all old learncycles.“, it means that you need to transition to Wisenet’s new Learncycles. This resource article will help you on how to start the transition process.
Learn about the New Learncycles feature before you proceed?
Why this change?
While the old Learncycles has worked well, we have redesigned the Learncycles interface and functionality based on your valued feedback, resulting in a more intelligent, powerful and easier to use feature that allows for unlimited expansion throughout the Wisenet application.
We have enhanced the user experience, scheduling and overall management by providing the ability to:
- Schedule any activity (not just emails) with longer schedules into the future
- Configure your Learncycles in one place
- Search for the relevant Learncycle Name
- Add and manage your Learncycle Audience easily via Lists
- Improved warnings for invalid trigger conditions
- More activities (such as SMS) can be easily added to Learncycles for future extensions
This gives you an opportunity to rethink and re-setup your Learncycles. The new design will reduce the total number you need as they are not directly set up against one Course Offer. Customers have also modified and improved their Learncycles over time, resulting in many antiquated versions. Rather than port the old into the new, your streamlined Learncycles can apply immediately.
How do I start the transition process?
The following instructions are designed to simplify the process and allow you to focus one step at a time.
Step 1: Understand New Learncycles
You must understand the new Learncycles and how to set them up. Prior knowledge of Lists is required. This is the key to ensuring a smooth transition to the new and improved Learncycles.
Learn more: Learncycles
Step 2: Set Up New Learncycle for One Course Offer
We recommend breaking down the work items as below:
- Choose an active Course Offer that has Old Learncycles running
- Review the Old Learncycles in the Course Offer and note down:
- What is the key Trigger Condition(s)?
- When should the Trigger Date be? Is this immediate or on a custom date?
- What Activities will result from this trigger? When is this activity’s schedule?
- Who is the Audience for this Learncycle?
The single Course Offer you are working on will be the Audience for now.
- In a new window, open Settings > Automation > Learncycles and add a Learncycle.
- Select the Trigger Condition and Trigger Date
- When choosing the Audience, add the Course Offer you are working on to a List first.
- Add the Activities required for this new Learncycle and save.
- Look at the entire Learncycle and consider if there are any other Course Offers this applies to. If so, add them to the same List in the Lists section.
- The new Learncycle will automatically apply to these Course Offers grouped in the List
Repeat until all new Learncycles in active Course Offers have been created.
Step 3: Review New Learncycles Setup Progress
You can review your progress by:
- Looking at the Learncycle counts on the Course Offer dashboard
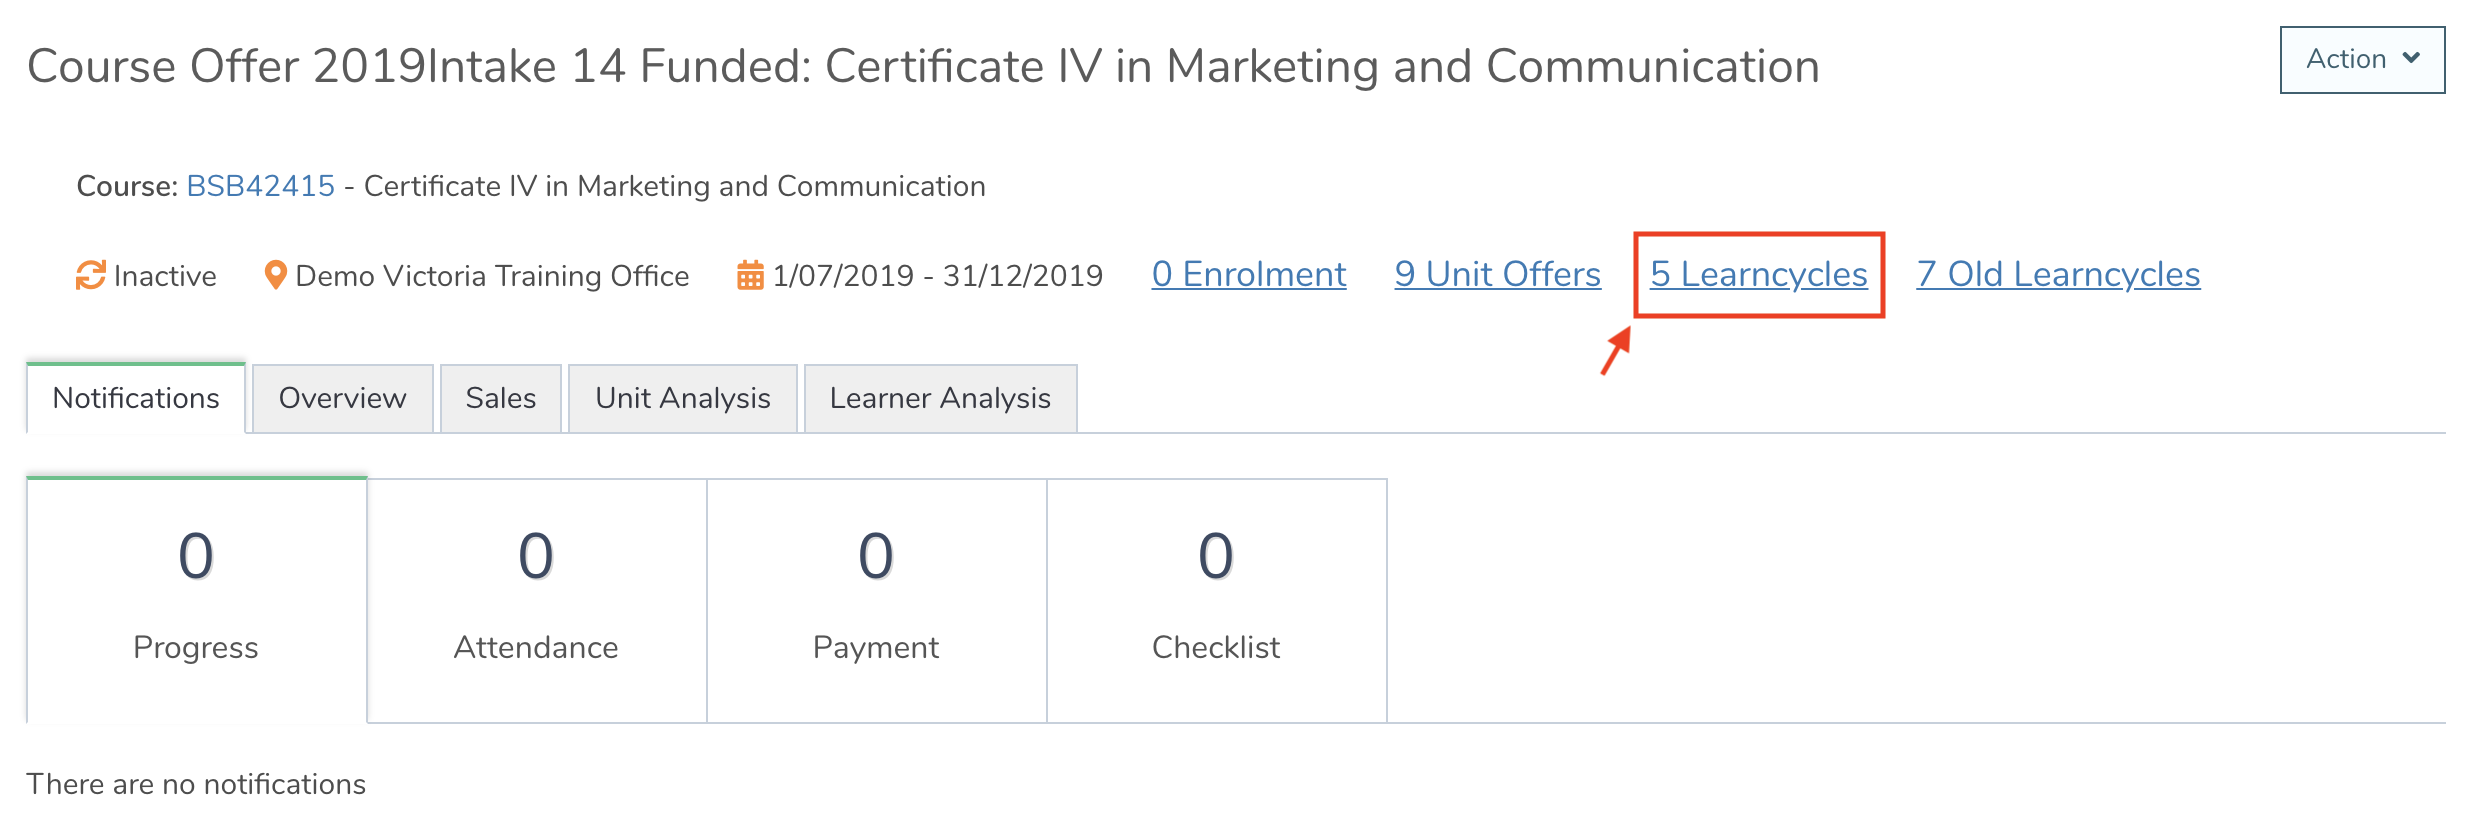
This will help identify the total number of activities set up.
- Comparing the Old and New Learncycles sections in the left navigation bar of the Course Offer
- Running report #0941 to see which Course Offers have Old and New Learncycles
- The total count may not match if activities have changed
- If Learncycles counts are too high or low, it can be due to either
- Missing Learncycle scenarios
- Incorrectly configured Learncycles
Configure the New Learncycles until you are ready to complete the Migration Wizard.
Step 4: Activate NEW Learncycles
Once all the new Learncycles have been configured, go to Settings > Automation > Learncycles and click Activate New Learncycles.
This Wizard will disable all old Learncycles and allow you to set New Learncycles to active.
There is an option in the wizard to choose whether to:
- Automatically set all new Learncycles to be Active, or
- Manually set new Learncycles to be Active
Read and tick the Acknowledgement box before clicking Confirm New Learncycle Activation

Why can’t I have both the old and new Learncycles running at the same time?
We need to prevent multiple activities from triggering for the same event during the migration process. The New Learncycles will not be able to be turned ON until the old Learncycles is OFF when transition is complete.
What if I don’t migrate to the new Learncycles?
We will turn off all old Learncycles at a nominated date. This will:
- Set all old Learncycles to inactive
- Disable any previously scheduled Learncycles
- Remove the “Old Learncycle” count from the Course Offer dashboard
- Remove the “Old Learncycle” section from the Course Offer left navigation bar
It is extremely important that you set your new Learncycles up prior to this nominated expiry date.