Venues / Classrooms can be added to:
- Notify Learners of locations
- Used in Timetables
- Book classrooms for delivery
- Welcome Letters to notify Learners where training will occur
1
Navigate to LRM > Settings
2
Create Dropdown List to Add a Venue
- From the Configuration widget click Venues / Classrooms
- Click Add New Option
- NOTE: The form to fill for the new option will open at the end of any current list of venues/classrooms. If you have a long list, simply scroll to the bottom of the list.
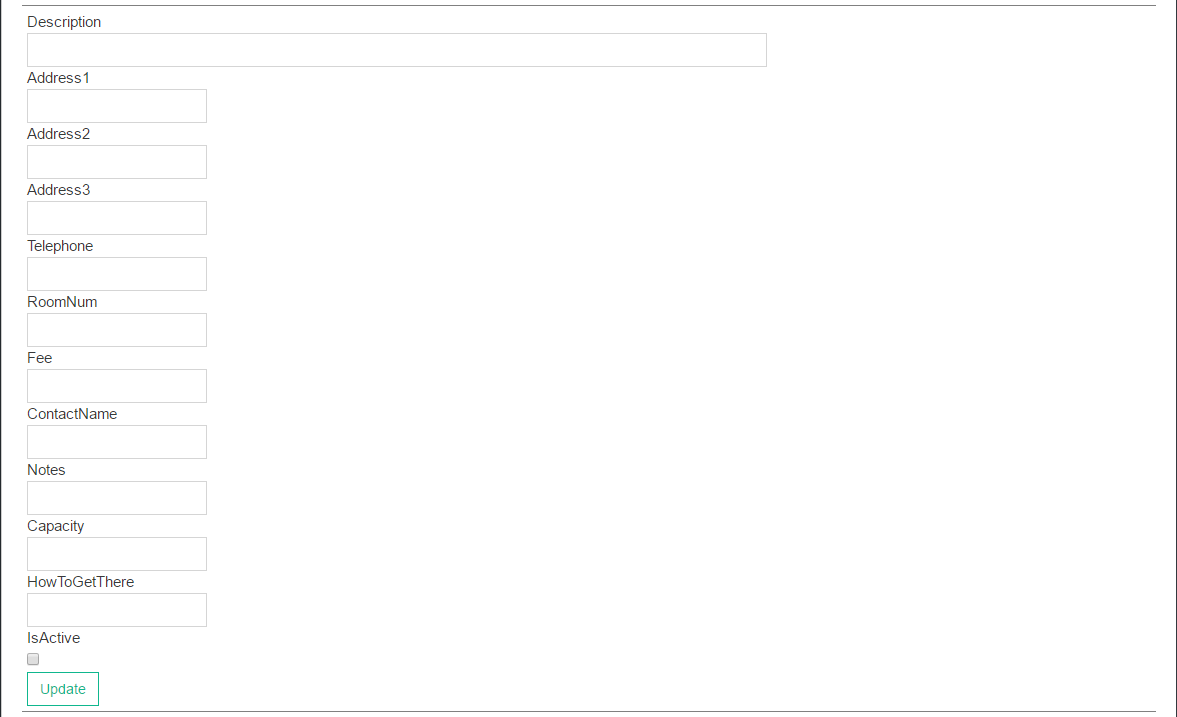
- Fill out the fields :
- Description: Enter the description that you wish to appear in the dropdown list. Refer to the Naming Convention in the ‘INFO’ section below for further help with description.
- Address details: Optional
- Telephone: Optional
- Room number: Optional
- Fee: Optional
- Contact Name: Optional
- Notes: Use to record type of room (eg. General, Kitchen, Salon, PC Lab etc)
- Capacity: Maximum number of students that the room can hold
- How to get there: Optional
- Is Active? : Untick to ‘decommission’ a venue
- Update
- Repeat until you have added all required Venues / Classrooms in your Dropdown list
Naming Conventions
List the campus/suburb/town name, then the room name:
- Hamilton – Room 102
- Hamilton – Room 202
- Richmond – Room 102
- Richmond – Room 203
Deliver in multiple states or regions? List state or region at the start of the venue name
- NSW – Richmond – Room 102
- Wimmera – Horsham – Blue Room
- Auckland – Whenuapai – Kitchen 1
Other
- To Be Determined: to indicate that a room has not yet been decided
- External or Off Campus: for external or other locations
- Webinar license: using Webinars for delivery. Create a venue for each license
- Workplace or School: delivery at these locations

